

So you’re waiting for the fro to grow and you’re fed up with the same style, or maybe you’re happy with the length but just fancy trying out a new do… Well here is an easy to follow step by step tutorial of a simple yet fancy looking, braid out style. This style can be done on long or short hair and is perfect for those of you who like the vintage look. Continue below to follow my 12 simple steps to achieve this style
What you will need:
Leave in conditioner (or braid out product of your choice)
Curvy grips/bobby pins
Fabric or headscarf
Step 1:
The night before, separate the hair into about four sections, add product to each section (I used Aussie Conditioner) and then plait… Basically you’ll be doing a braid out, if you need instructions on how best to do a braid out, read this previous, how to post here. Please note: Make sure one of your parts is to the side of your head and not in the center. This will just help the hair to fall to one side better when you take out the plaits, so then the style will be easier to achieve.
Step 2:
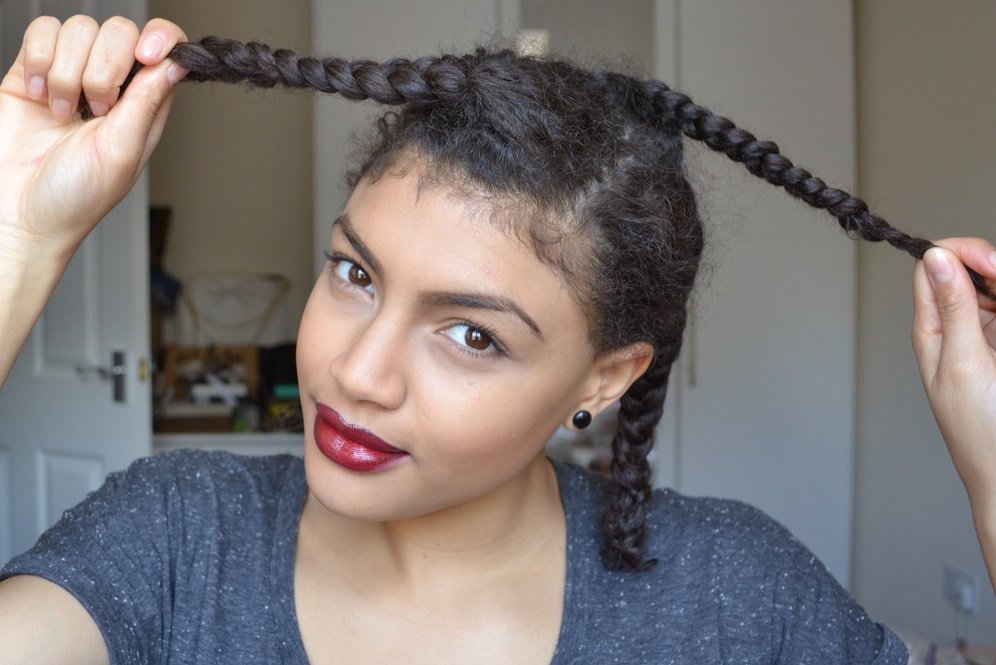
The next day, following on with the braid out process, undo the plaits carefully so not to mess up the newly formed wave in the hair.
Step 3:
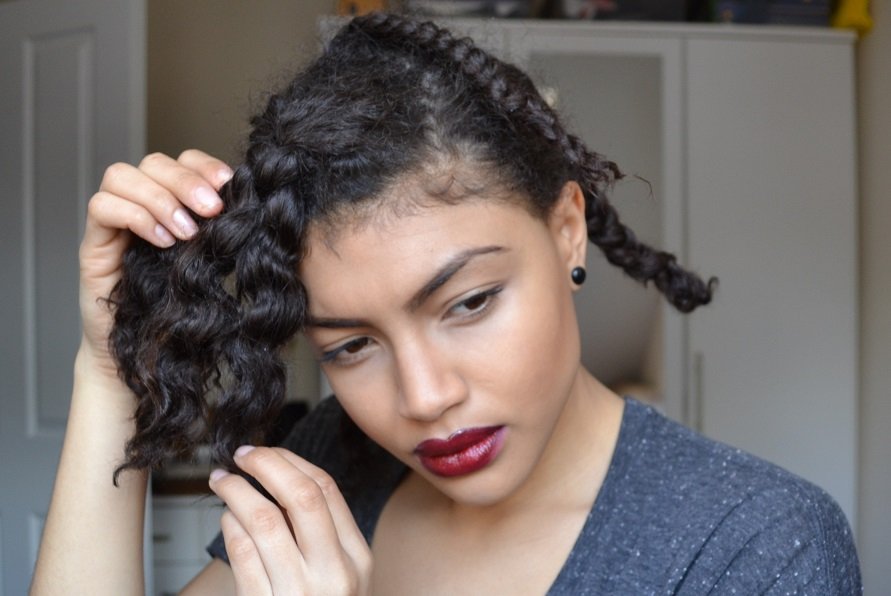
Continue to undo all the plaits until you’re left with a head of waves. Separate parts of the hair slightly if you feel you need to. Do this gently using your fingers so not to create too much frizz.

Step 4:
Grab the majority of the hair, leaving about a quarter section to hang lose at the front…

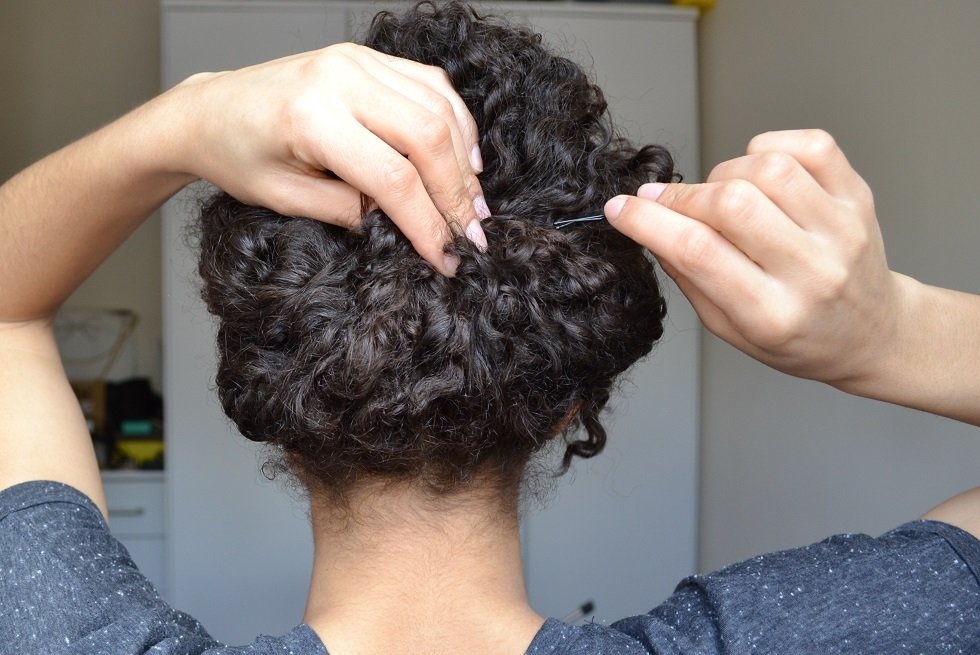
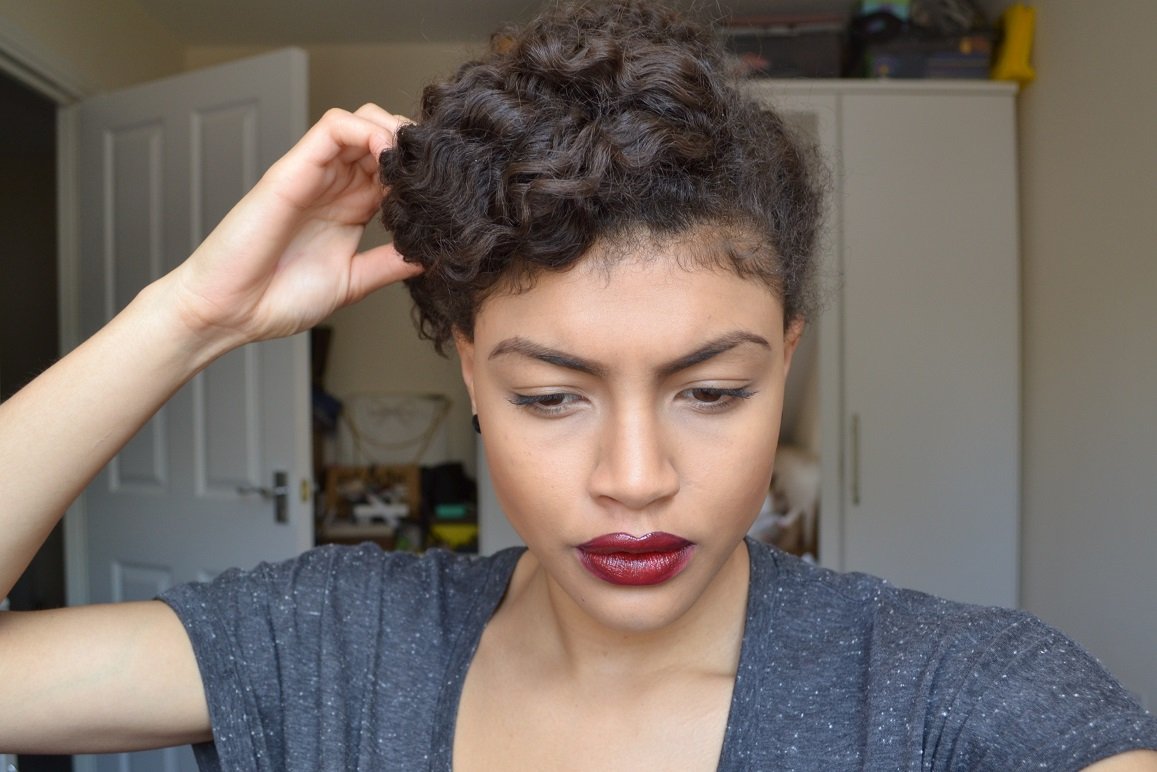
Step 5:
Pin the grabbed hair at the back of the head. Do this using bobby pins/curvy grips (as many as needed) to secure in place.
Step 6:
Once the back part of the hair is pinned up and secured, you should be left with something that looks like this.

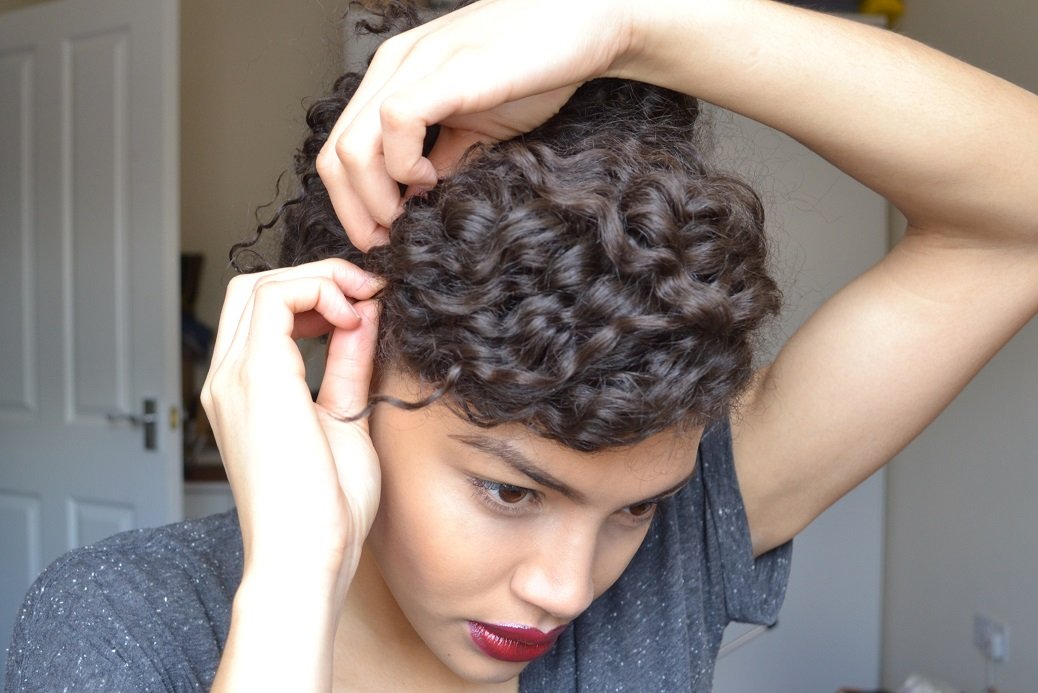
Step 7:
Now grab the front section of hair and take it to the side and again pin in place. One hair grip should be enough to hold this section but use more if needed.
Step 8:
Check that the front piece of hair is secure and that all grips are hidden.
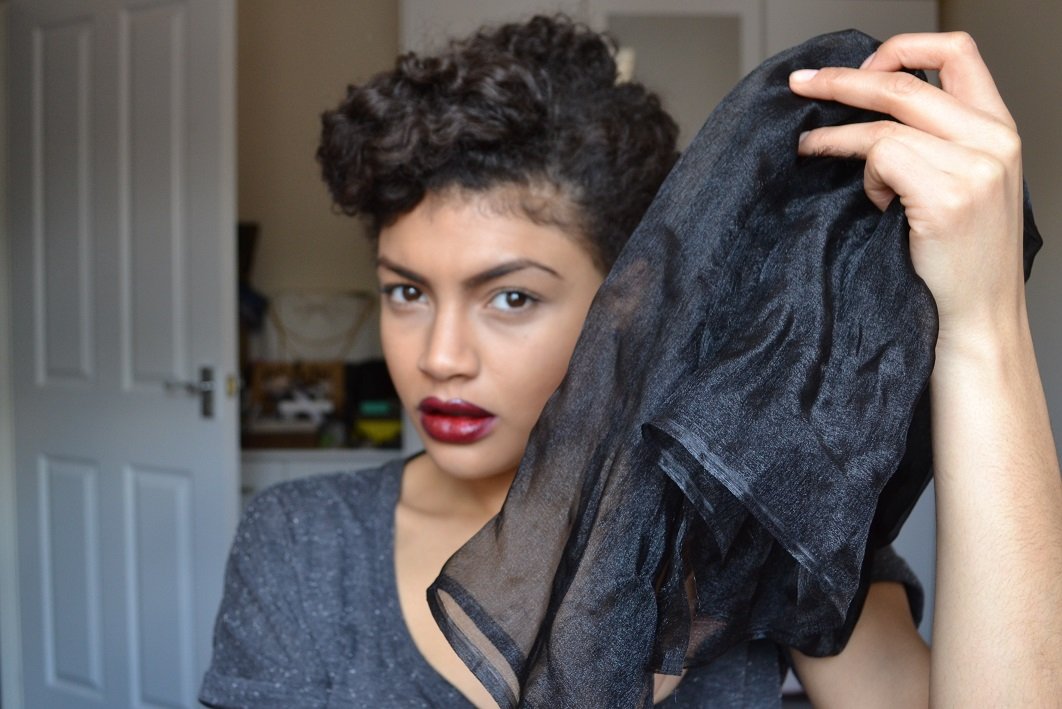
Step 9:
Now that your style is in place, it’s time for the finishing touch… Grab a headscarf of your choice. Here I have chosen to use a long strip of organza fabric. You can buy this fabric at most haberdasheries or even online for a reasonable price. Don’t worry if you don’t have any organza fabric, a head scarf or any remnant of your choice of fabric will do fine. Just make sure that the fabric/headcarf you use is long enough to wrap around your head and tie into a large bow.
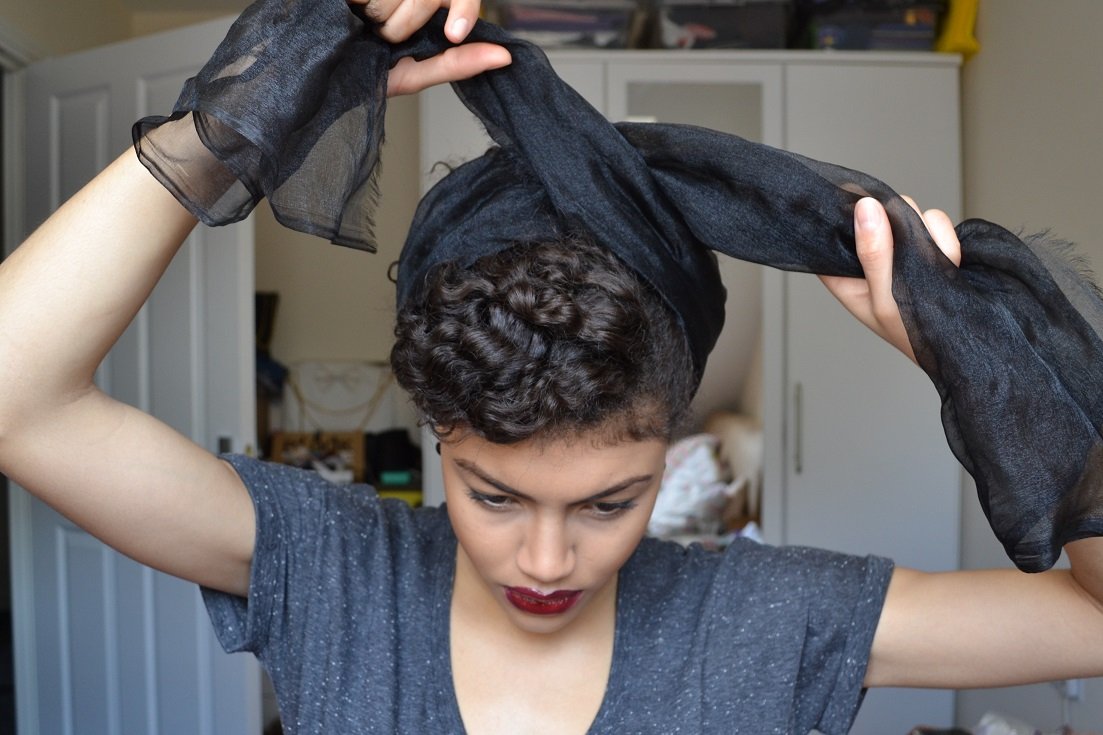
Step 10:
Wrap the fabric around the back of the head. Bring the fabric/headscarf together at the top of your head, just behind the front piece of pinned hair, then cross over and tie.
Step 11:
Finish tying the bow (the same as you would with a shoe lace) at the top of your head and then adjust the bow so that you are happy with it. If needed, secure the fabric/headscarf with more pins.

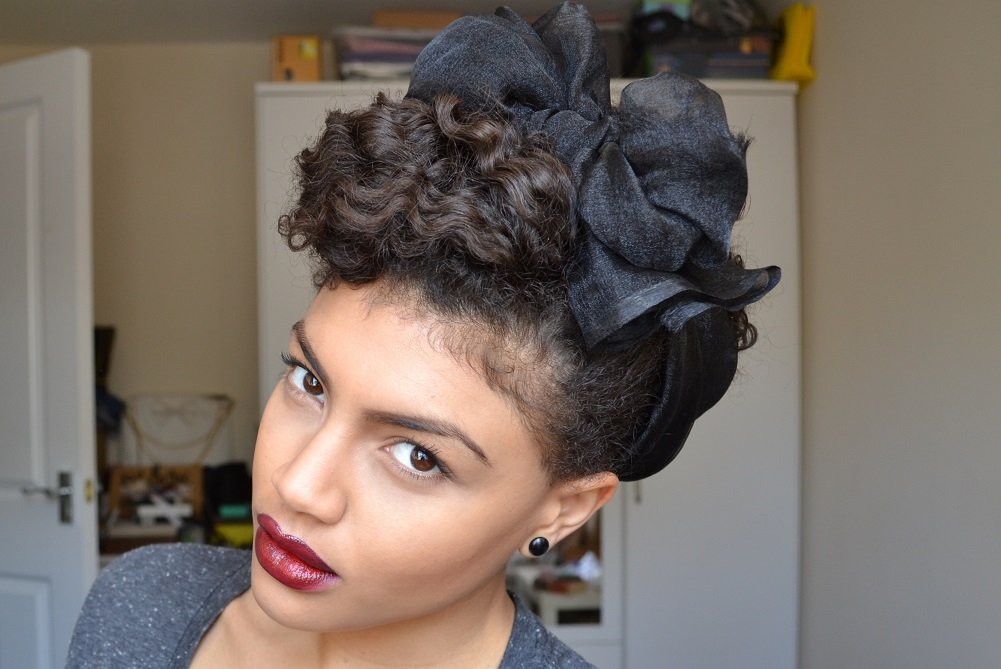
Step 12:
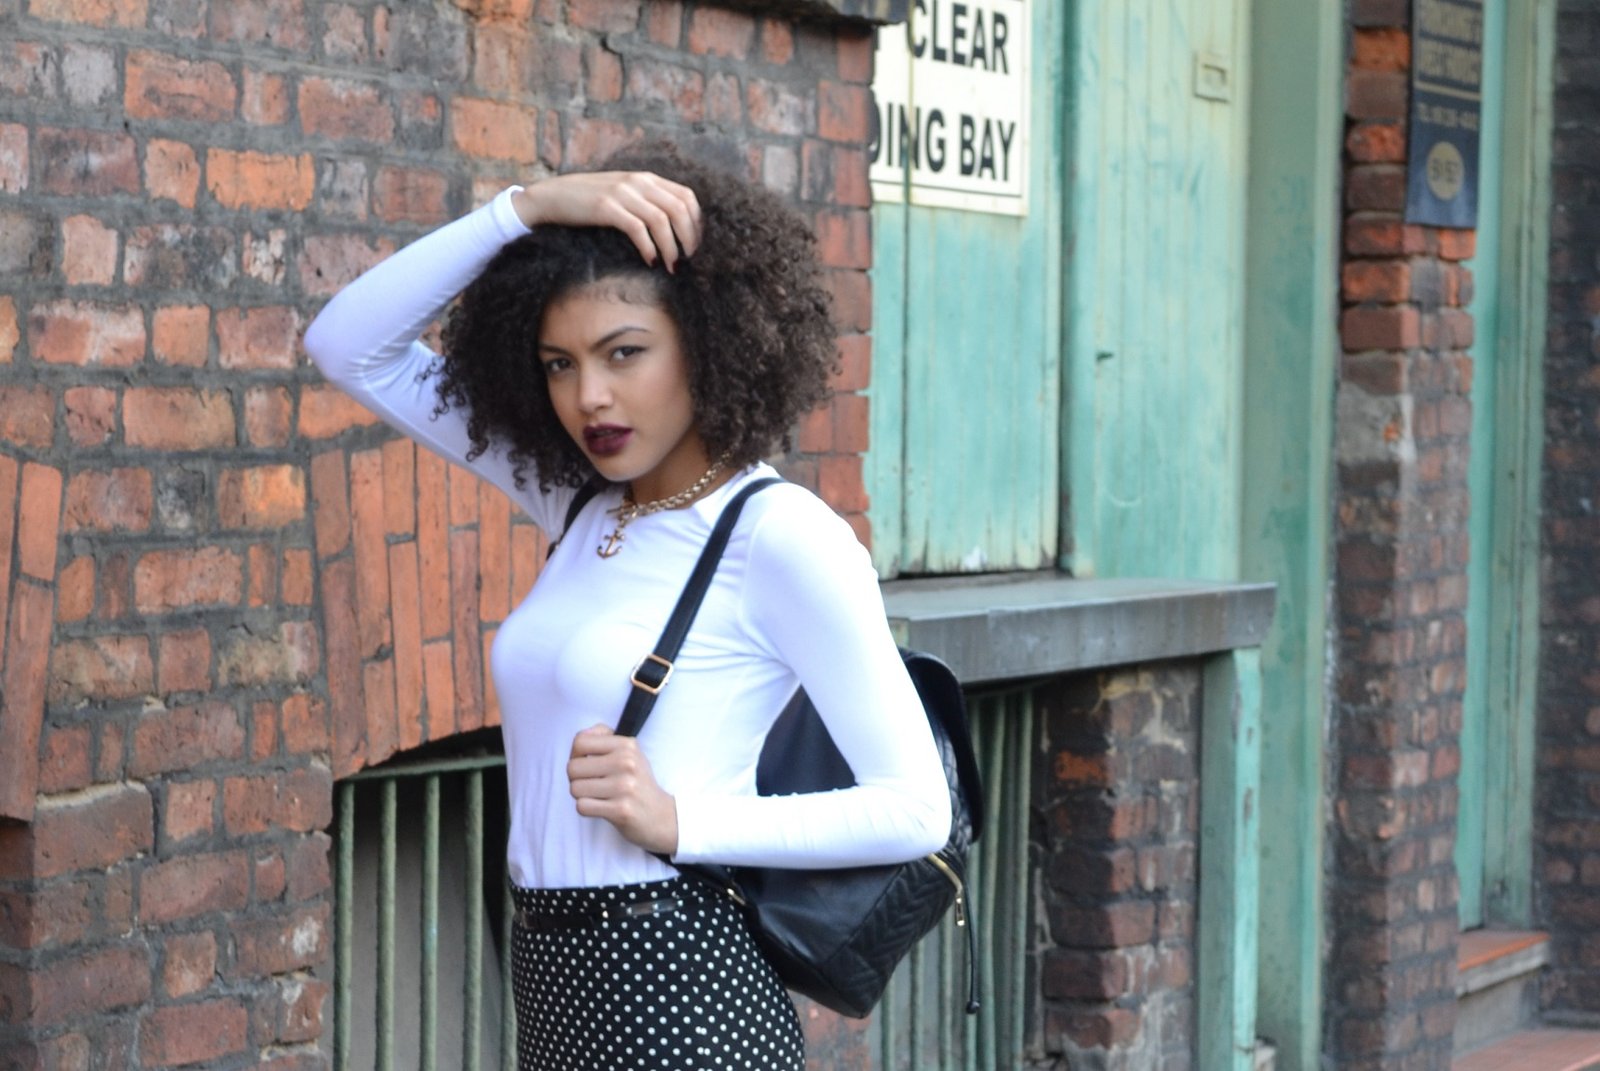
For the end result you should be left with something similar to this. Now go out, rock your new style and feel fabulous!
Did you try out this style? I would love to know how it worked for you… Feel free to share your results with me via Instagram & Twitter – @samiorenelda
Samio x


3 comments
This is absolutely gorgeous. I bet this style would look amazing with the new dress I bought. Can’t wait to try it!
You look FAB as usual!
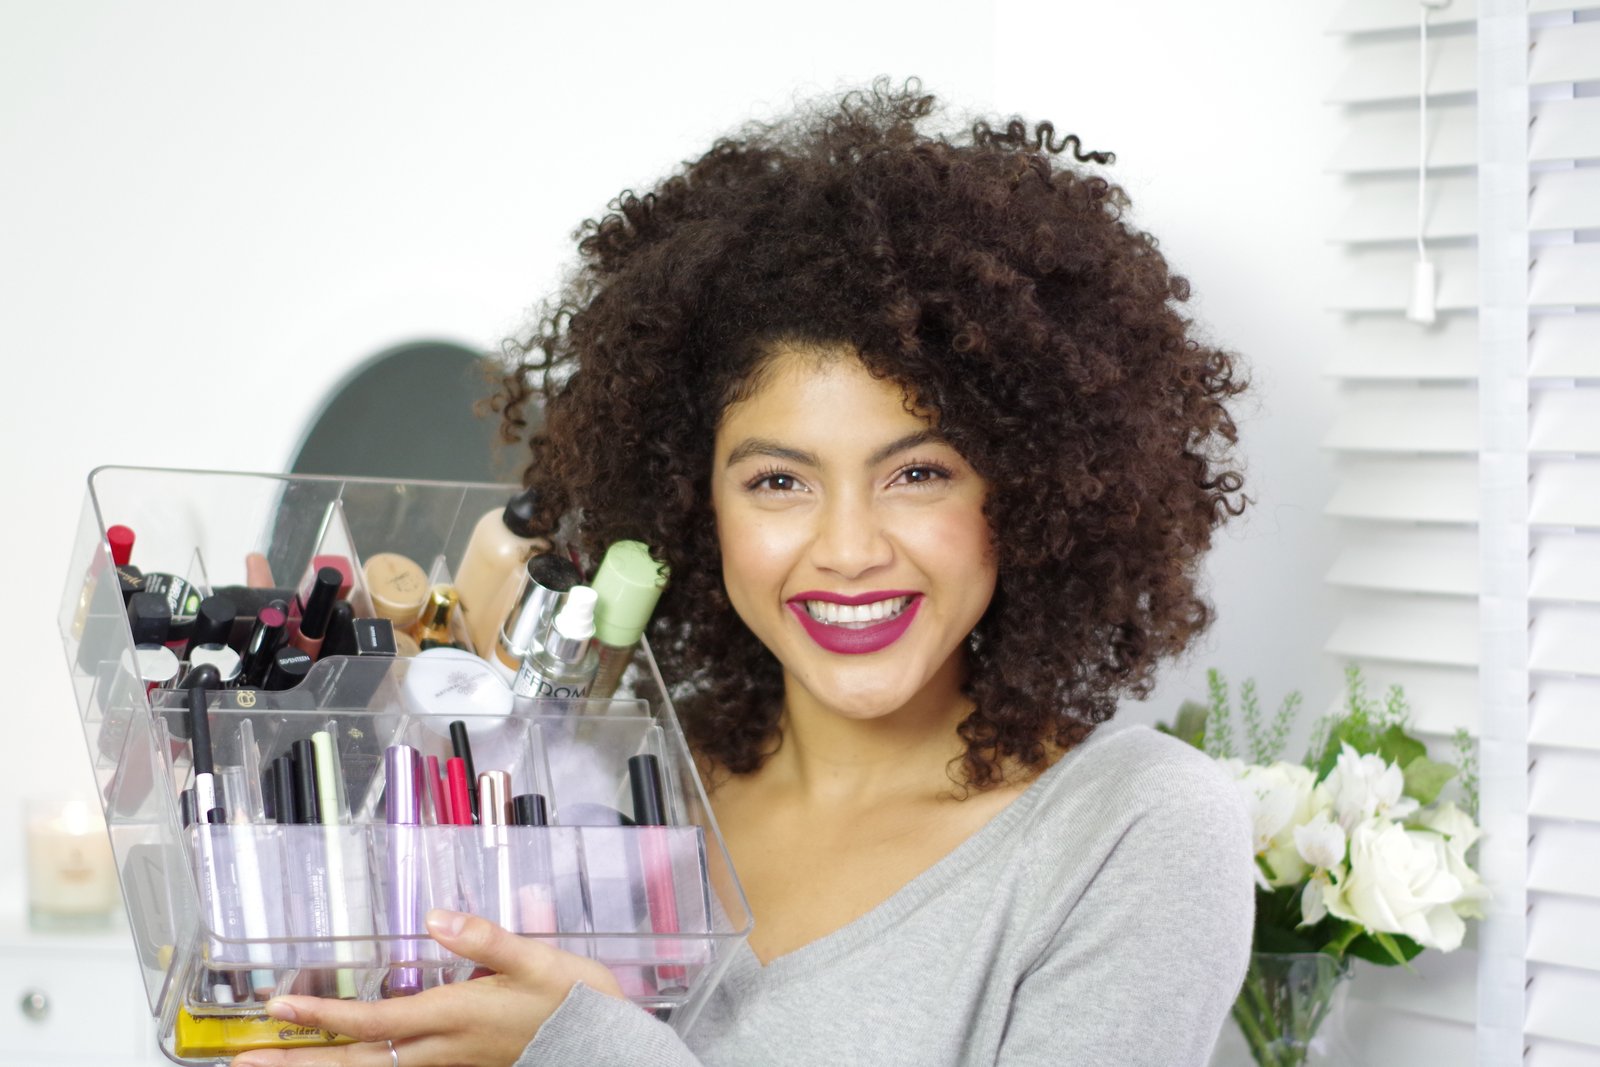
What lip colour is that?
xx
Thank you! I think it’s an old one, it’s shade Bordeaux by Rimmel London and I’m using a darker shade of deep red lip liner from 17. I plan on doing a blog post soon though on my up to date lipstick favorites. 🙂
Samio x